Introduction
In this tutorial, we'll upgrade our AI app by adding voice input using Thunkable’s built-in Speech Recognizer component. This lets users speak their prompts instead of typing them — perfect for accessibility and fun!
Make your Thunkable AI app even smarter with voice recognition
In this tutorial, we'll upgrade our AI app by adding voice input using Thunkable’s built-in Speech Recognizer component. This lets users speak their prompts instead of typing them — perfect for accessibility and fun!
Open the Thunkable app you created in the last tutorial, or create a new one if you're starting fresh. Make sure it already connects to OpenAI as shown in the previous tutorial.
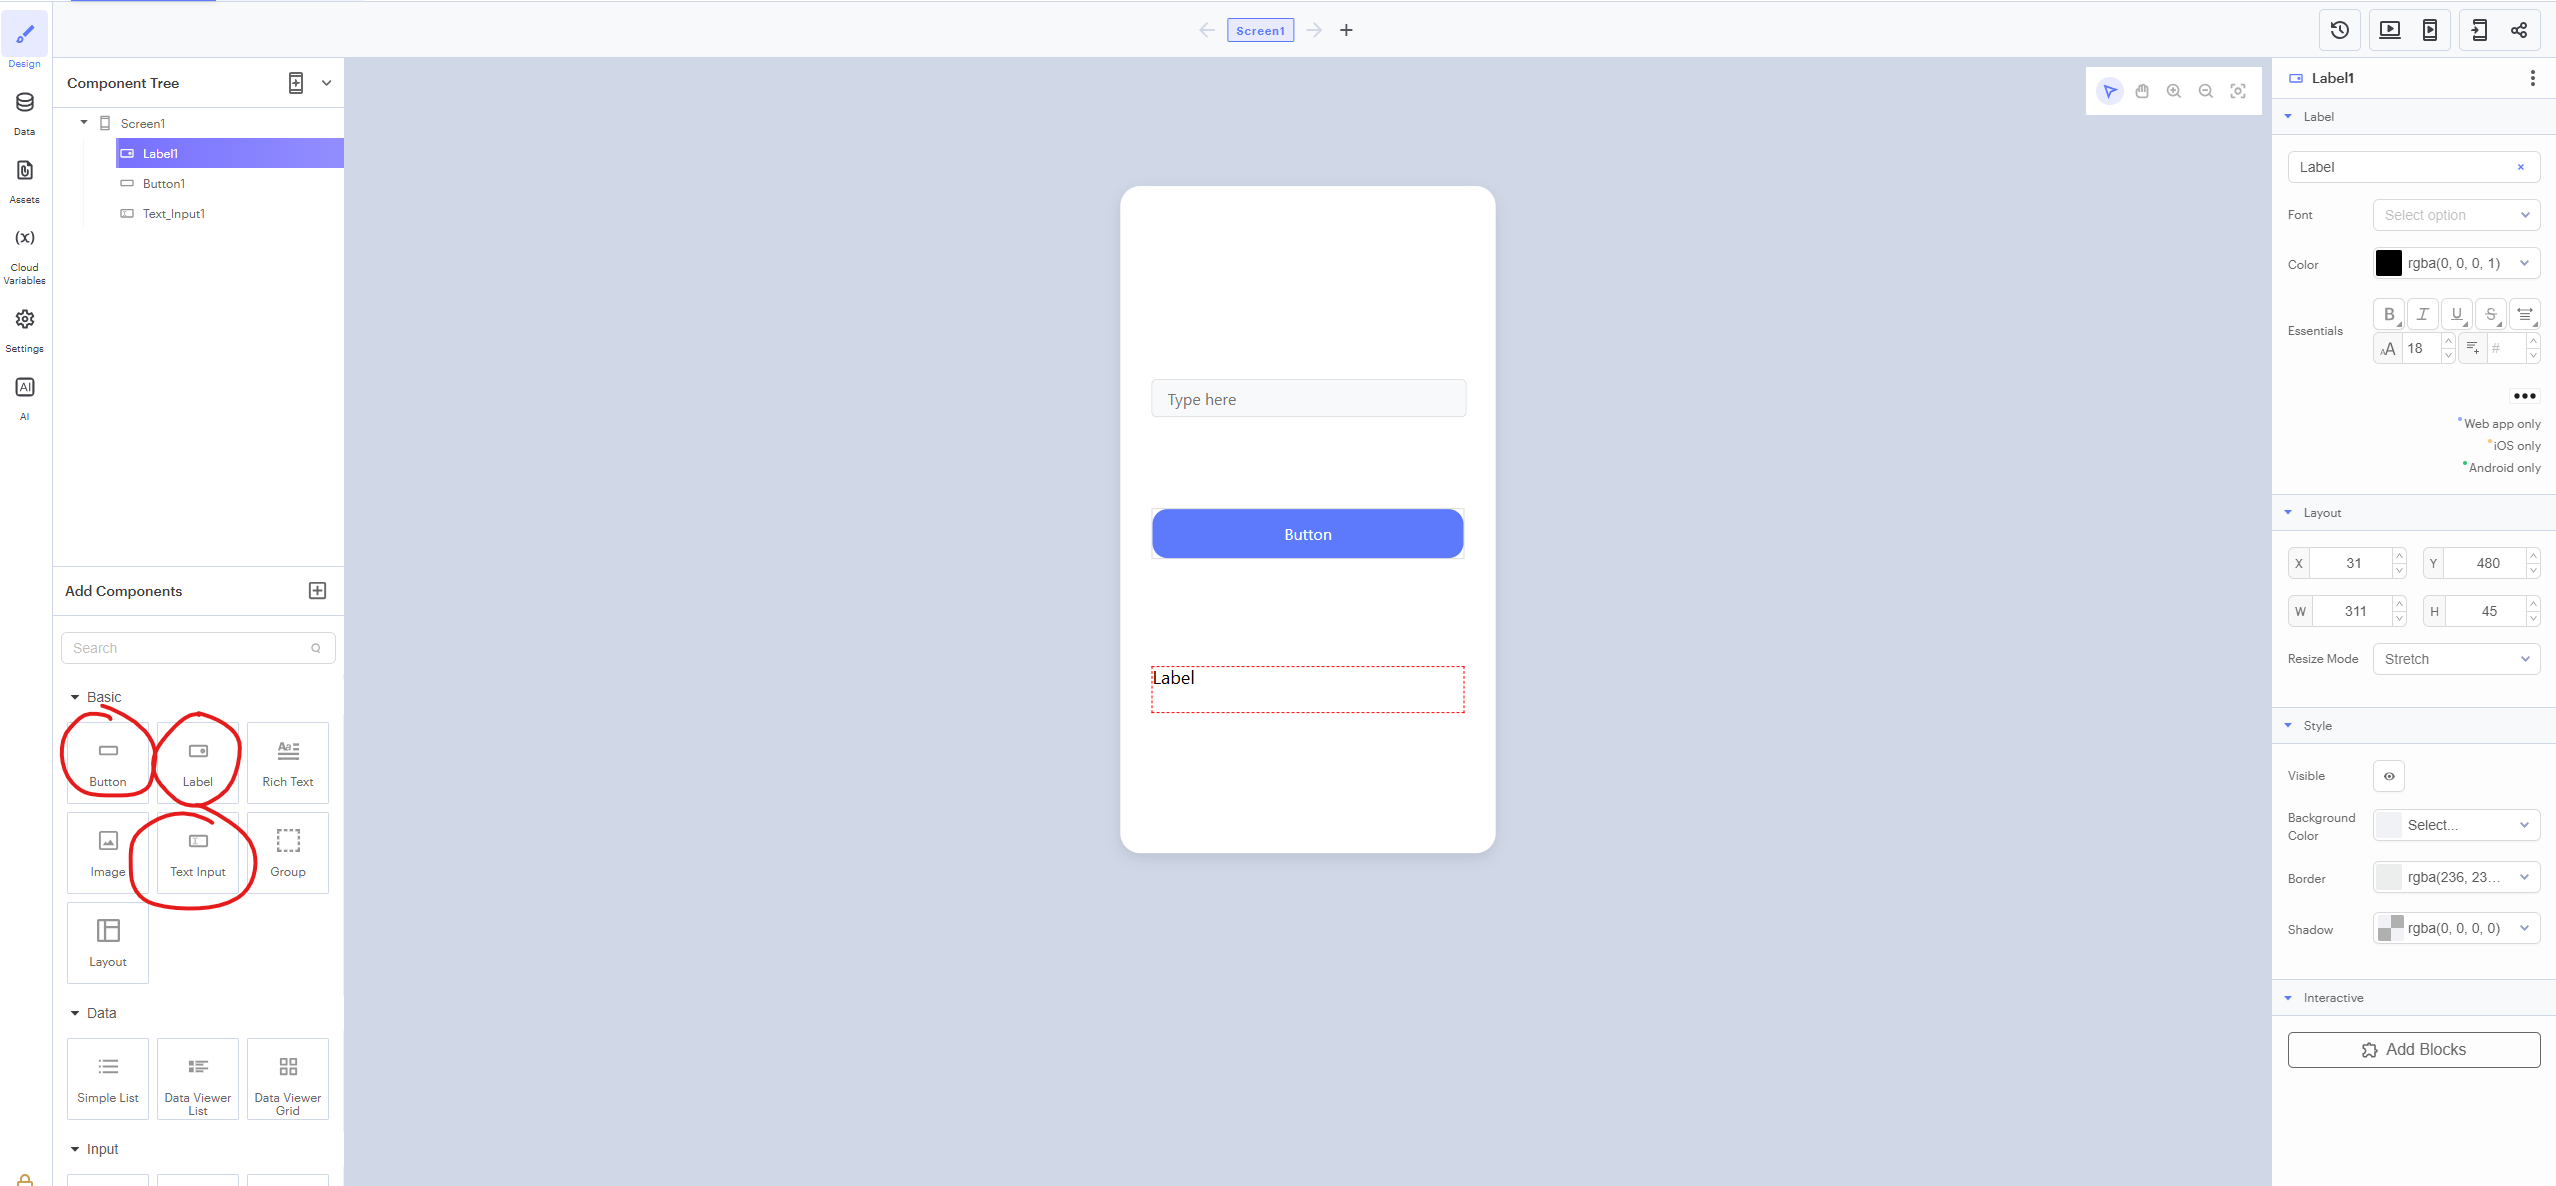
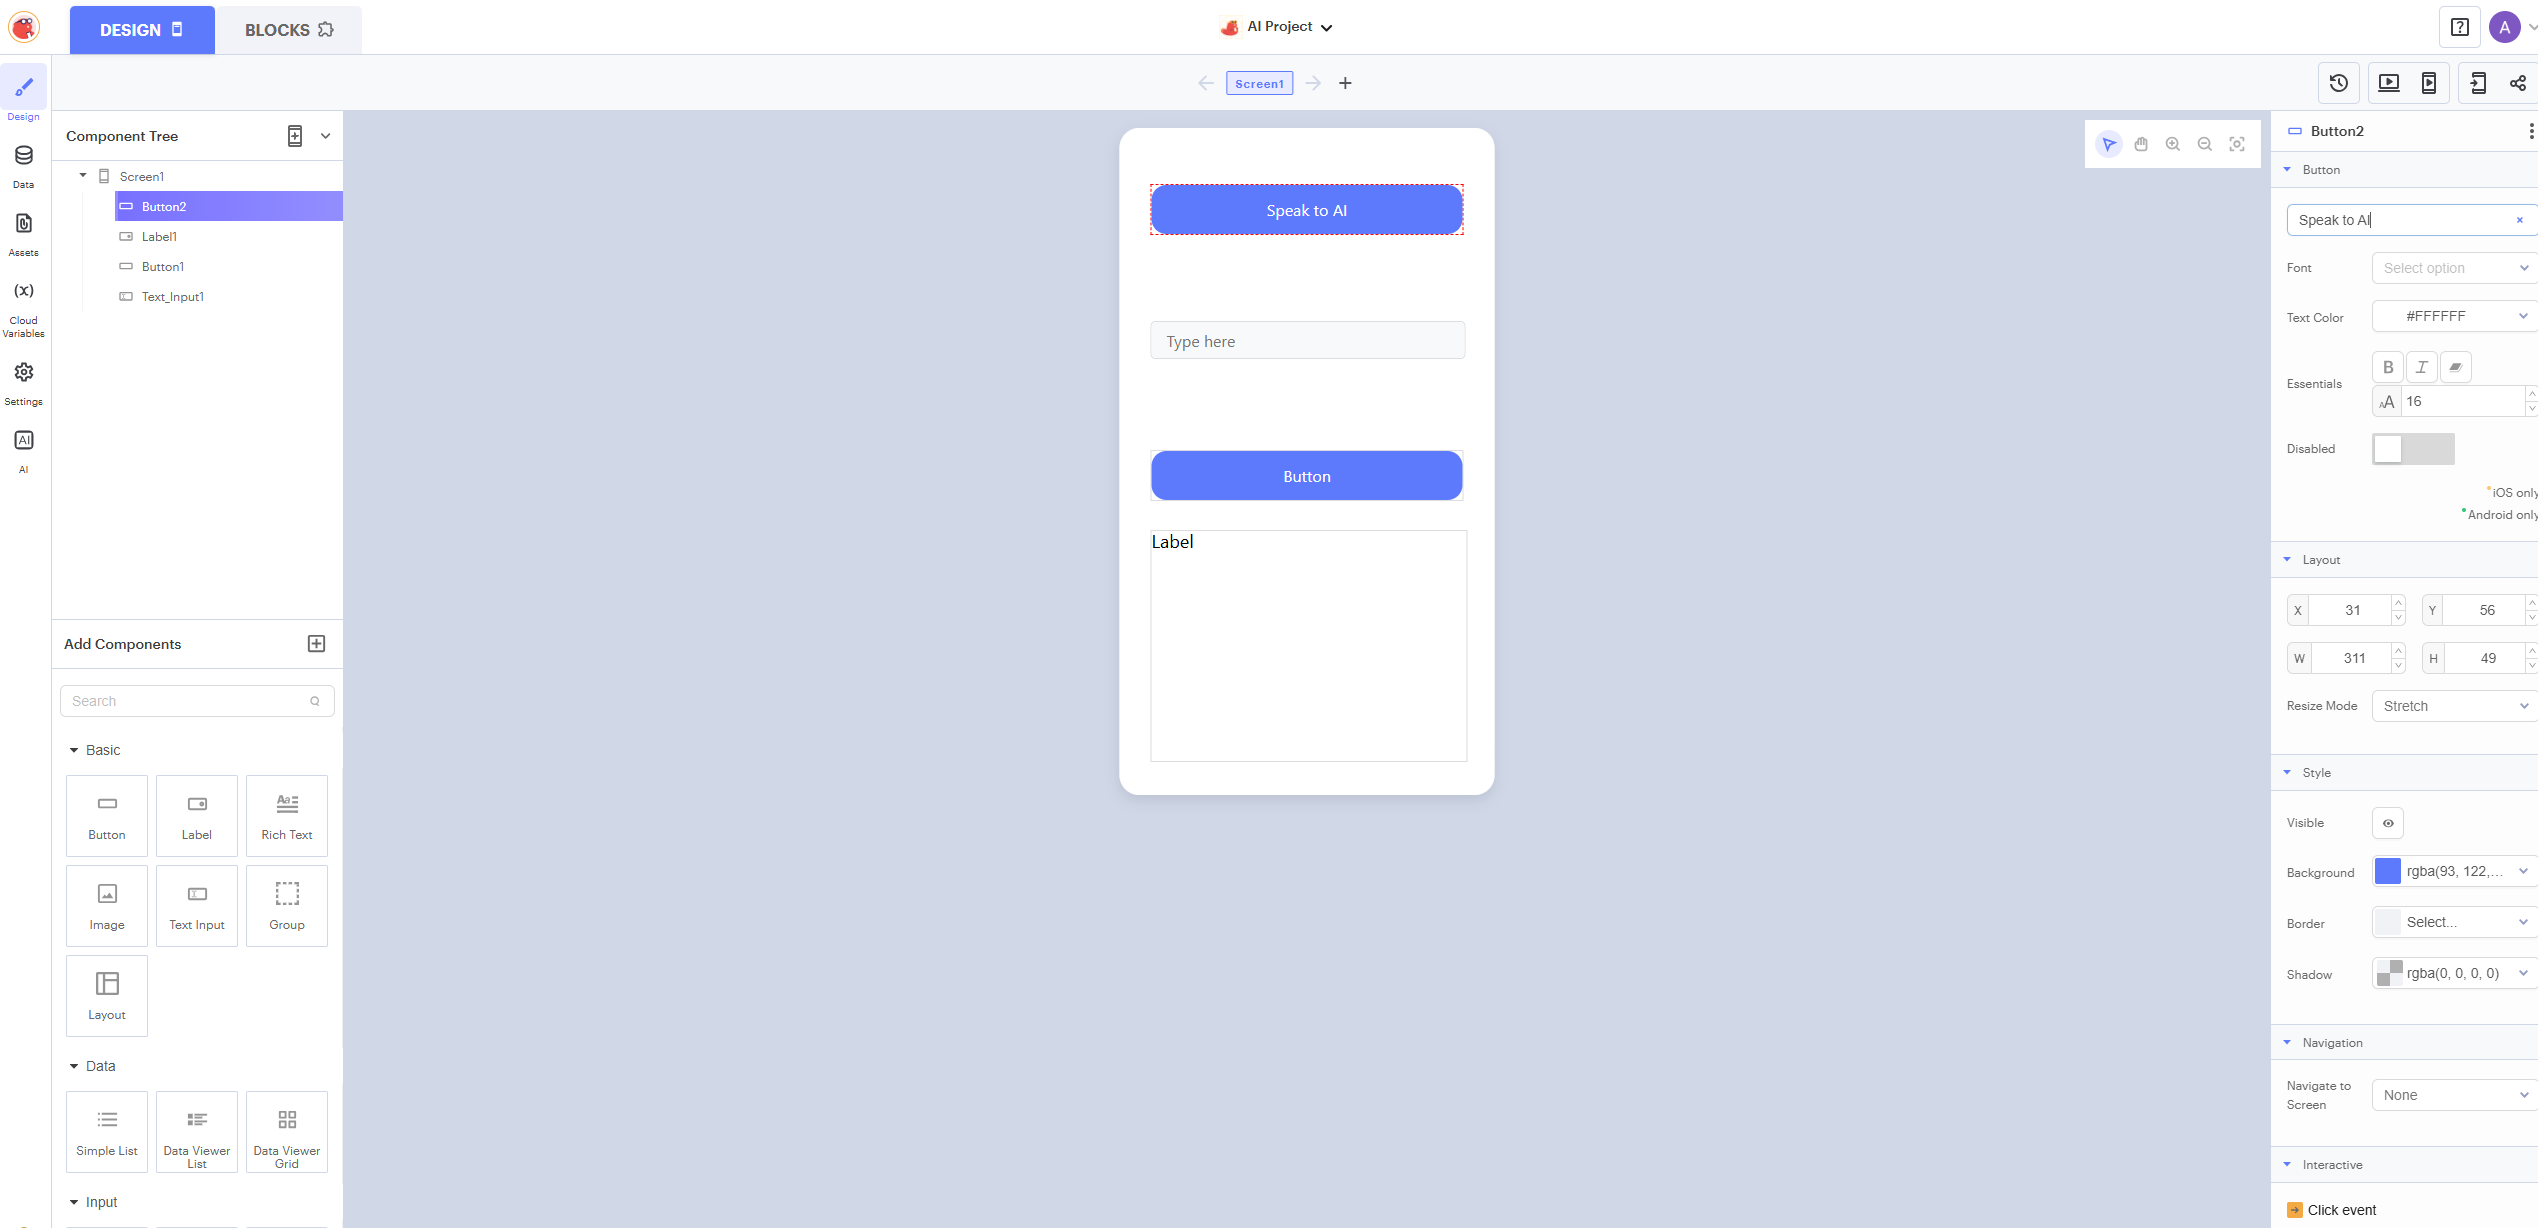
Drag a new button onto your screen and label it something like "🎤 Speak to AI". When tapped, it will activate the Speech Recognizer and capture user input.
In the Blocks section, drag in a Speech Recognizer block.

Still in the Blocks tab. Let’s create the logic for when the button is clicked:
when VoiceButton.Click block to start speech recognitioncall SpeechRecognizerText_Input.text to the spoken result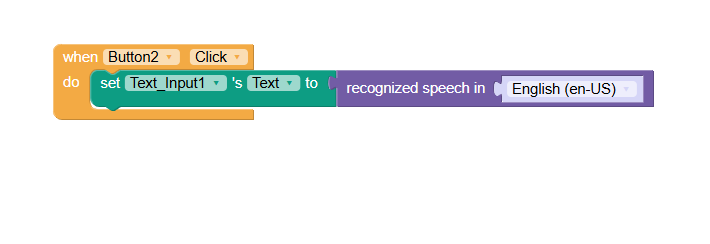
Try out your app by tapping the voice button and asking the AI something out loud. The AI should respond just like it would with typed input!
Want to take it even further? You could add text-to-speech to read the AI's response aloud!